PART 5: IMAGE ALIGNMENT
Sometimes we have multiple images that belong together in one larger image. Often times these can be captured and processed to create this larger image during acquisition, but in some circumstances we need to combine the images manually after acquisition. In those cases, we can use tools in FIJI to combine or align these images into a seemless single image.
For stictching we use the demo images Tile_01.tif through to Tile_06.tif found in the demo images sub-folder titled 'Manual Stitching'. For TrackEM2 alignment we use the image set found in the demo images sub-folder titled 'TrackEM2'.
Pairwise Stitching
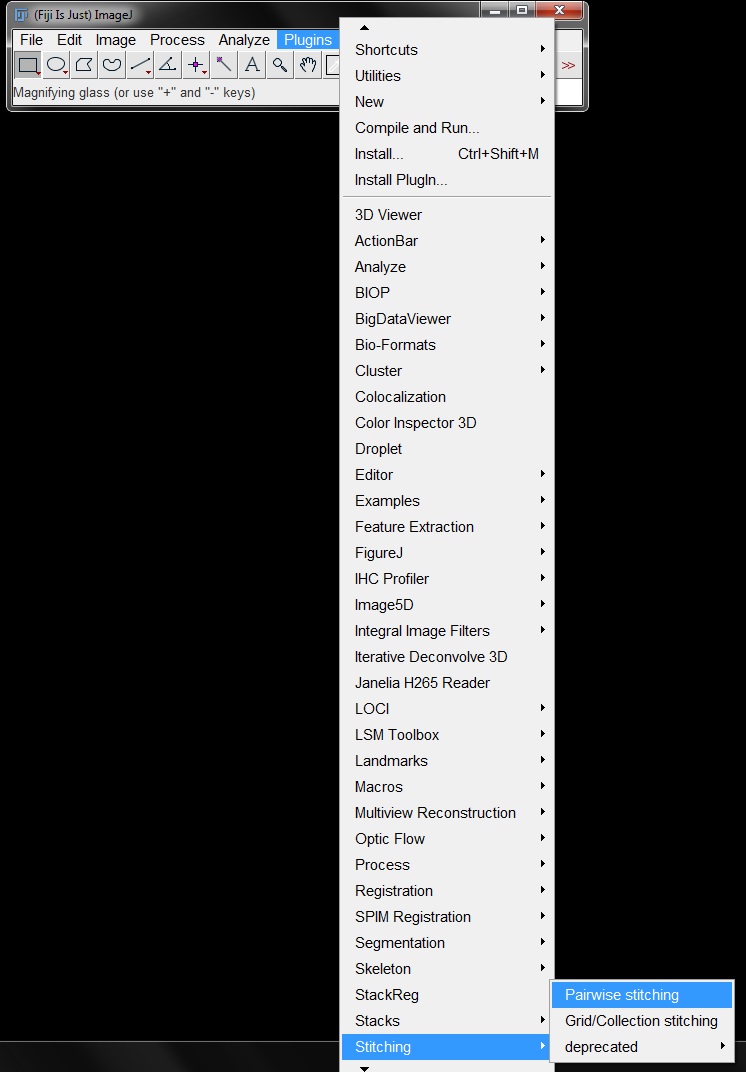
Stictching combines multiple tiled image into a single large format image. One option to do this in FIJI is to use the pairwise Stitching plugin, found under the Plugins -> Stitching menu. This option allows you to combine images 2 at a time and is useful for small numbers of images, where there is no specific order.
First you need to open at least 2 images that you want to sticth. Here we will use the the two demonstration images Tile_03.tif and Tile_04.tif. Select Pairwise Stiching from the menu by going to Plugins -> Stichting -> Pairwise Stitching.
In the Pairwaise stitching window, select Tile_03 and Tile_04 as your images from the drop down menus (the order doesn’t matter) then click OK.
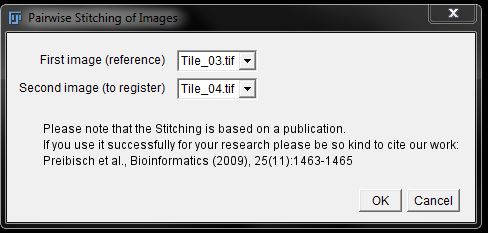
In the second options window, you can give your final image a new name, but no other settings should need adjusting. Click OK to begin the stitching process.

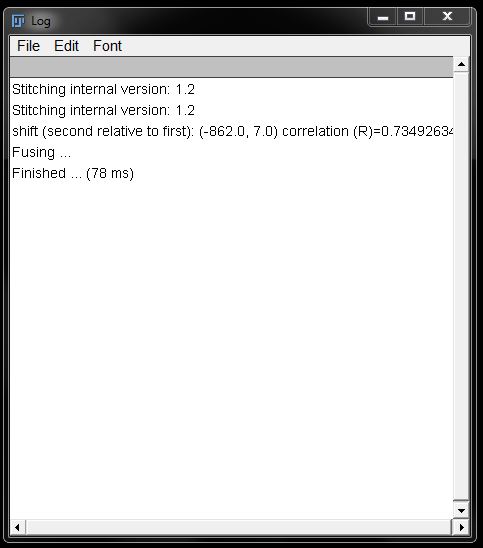
A log window will show progress and your stiched image will open in a new window upon completion.
You can then repeat the steps to add other panels if you have more than two images, by opening the next image and using that plus your newly stitched image as your 2 images to combine.
Grid Stitching
There also is a grid stitching option that you can use for larger numbers of images that were recorded with a motorized stage in a defined pattern. This is also found under the Plugins -> Stichting menu.
You do not need to have your images open in FIJI, but they must been named in specific manner and all must be named in the same format (ie: here they are all named Tile_xx.tif).
Begin the process by going to Plugins -> Stitching -> Grid/Collection stitching.
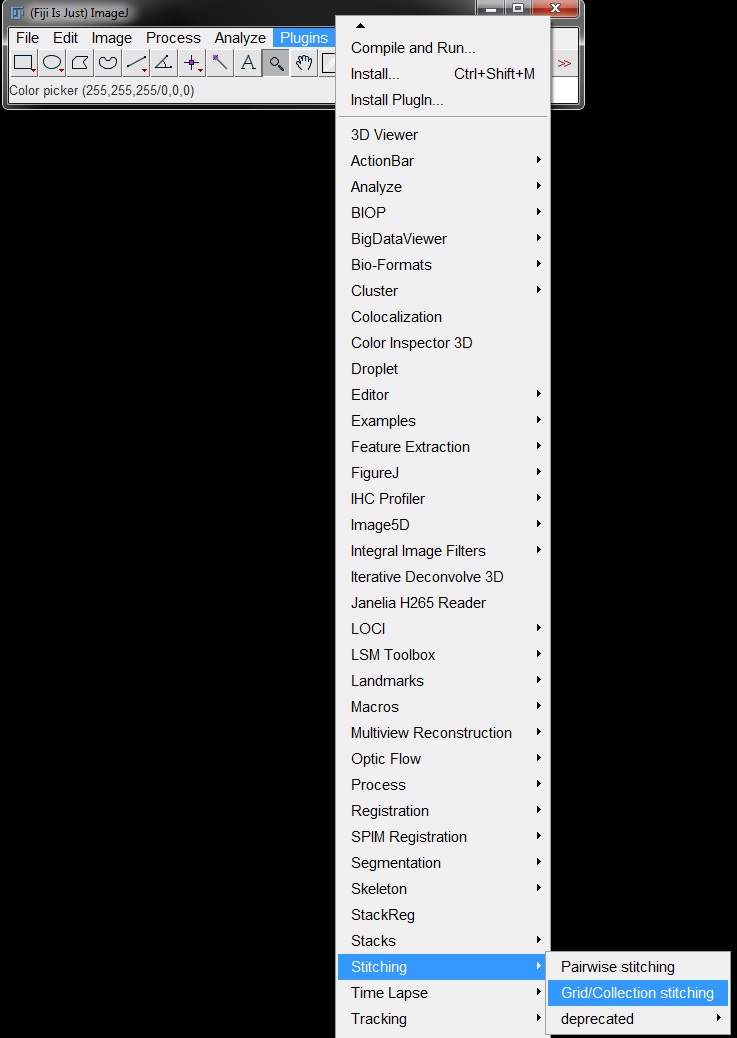
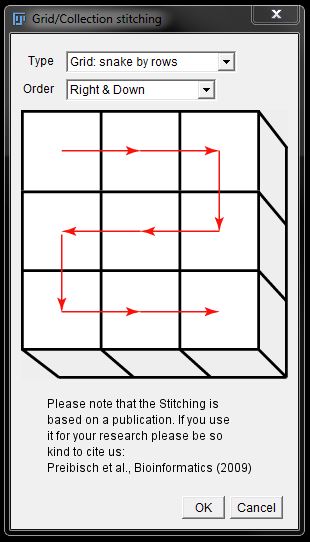
In the first window, select the pattern of image acquisiton from the drop down menus for Type and Direction. The image below these menus will illustrate the selected pattern for clarity. Here the image were captured as "Snake by Rows" and "Right & Down".
Click OK to proceed.
In the next options window, check the grid size is correct and adjust to the correct number of rows (x) and Columns (y) as needed. Here we had 3 rows x 2 columns.
Adjust the overlap to that used during automatic aquisiton or an estimate (over-estimating is better than under) is captured manually. Here we use 20% overlap.
Enter the number of the first image in the sequence, or leave as 1 if all images are being included.
Select the folder where your images are saved by browsing under Directory. Then finally ensure the file name format is entered as used for your files.
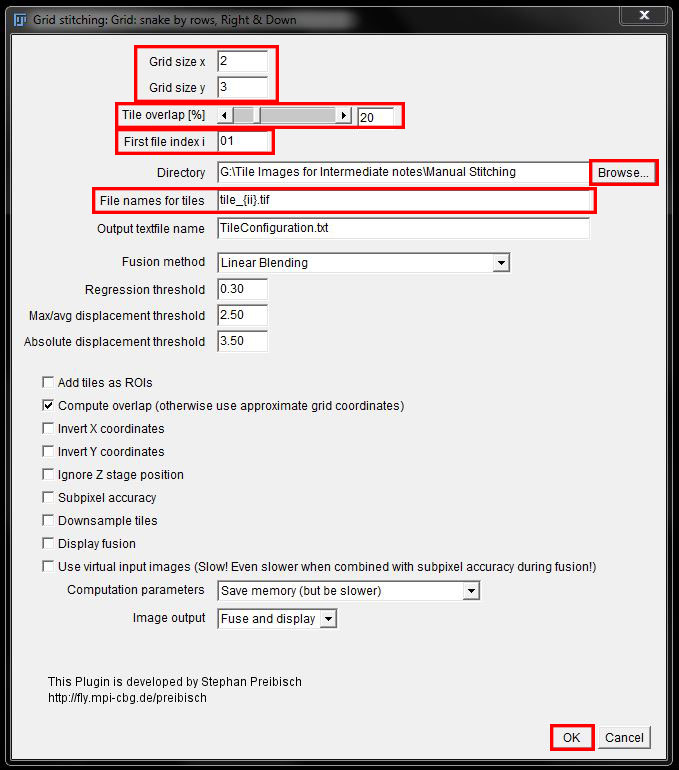
No other stitching/blending options should need to be altered from the default.
Click OK to proceed with stitching.
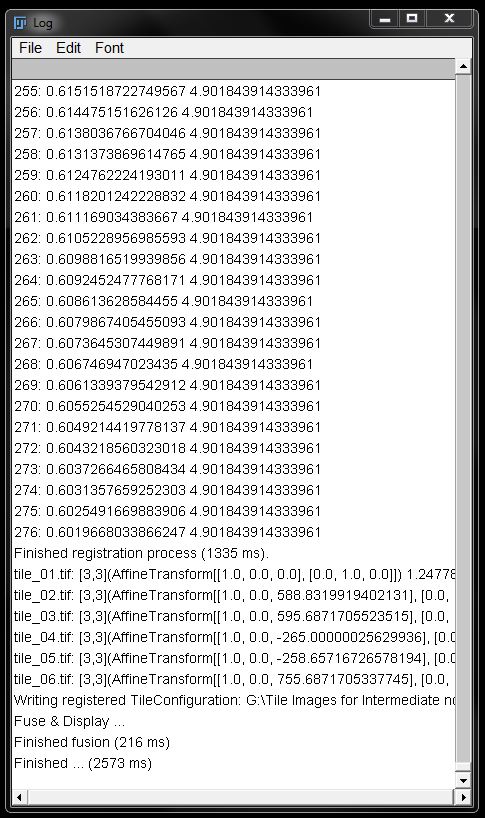
Again a log window will display your progress and the final image will open in a new image window upon completion.
Often times, especially when images were acquired manually (as done here), there will be black space at the edges where shifts were required to line up images accurately. The final image may be cropped to ensure smooth edges without these blank sections.
TrakEM2 Advanced Image Alignment
To align z-stack images or histological serial sections that have been imaged in different oritentations you can use the TrackEM2 tool.
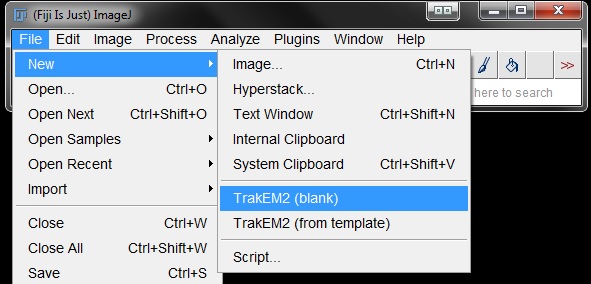
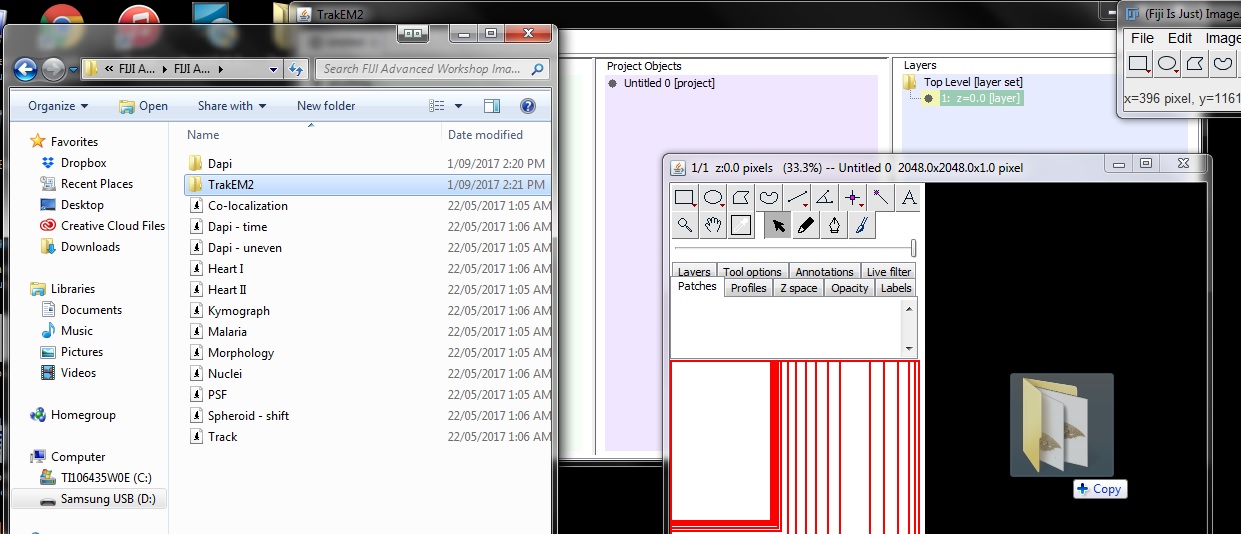
Go to begin go to File -> New -> TrackEM2 (blank).
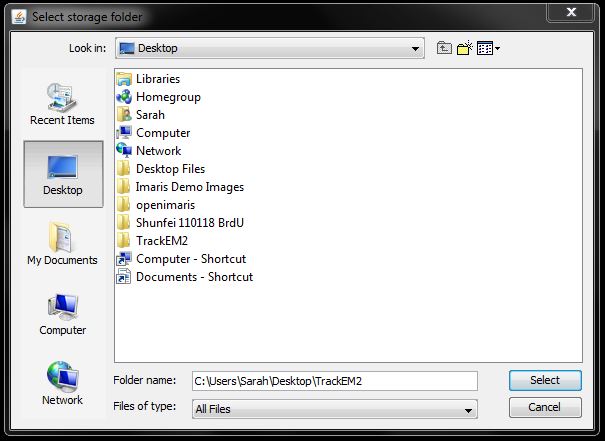
Create a storage folder in your desired directory as prompted by the software.
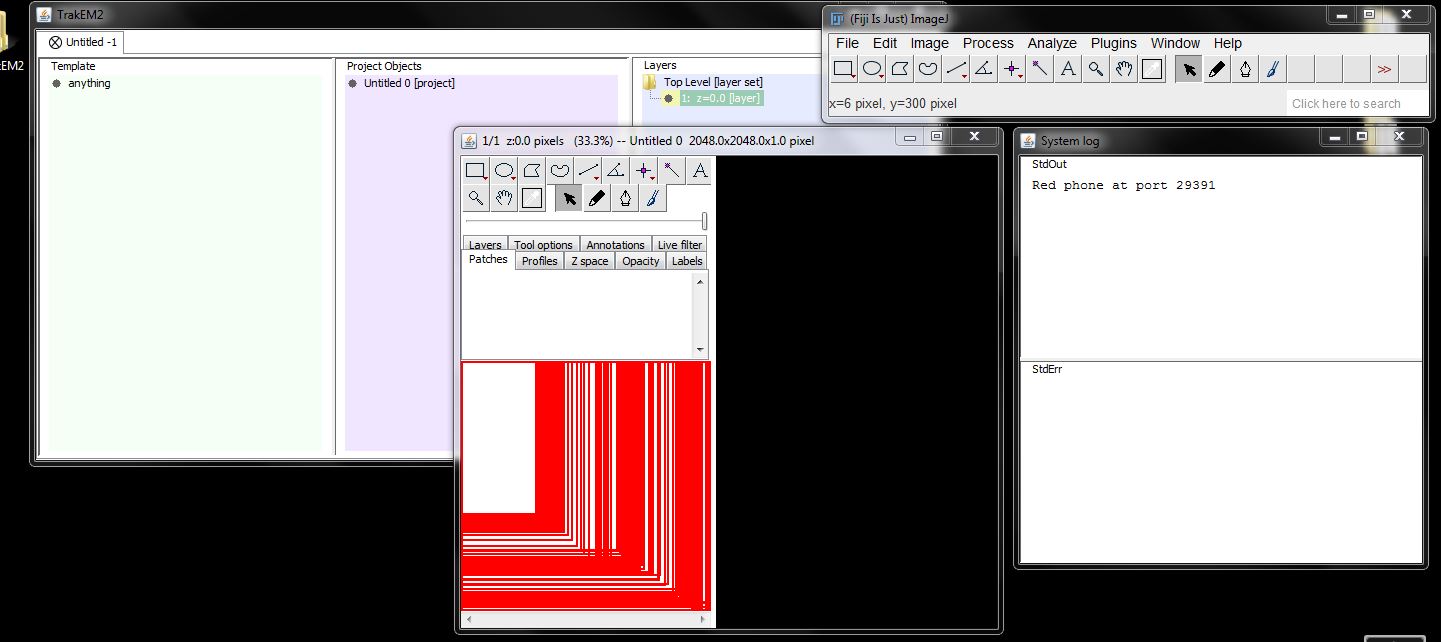
This will open a working area with several different windows.
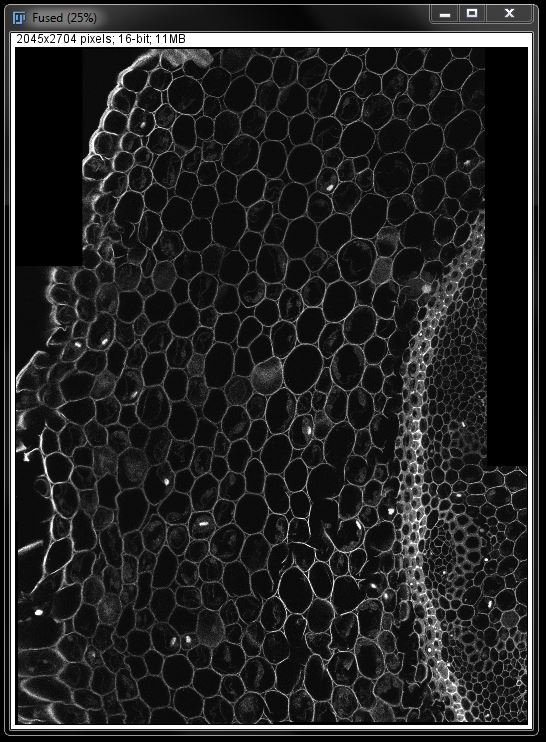
Drag and drop your folder containing all images (and only those images) into the main window (large black area). In the demo images we have a folder called TrackEM2 with images for use here.
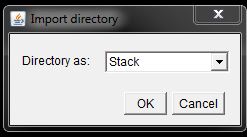
Select Open as stack when prompted. The enter the distance between images (for z-stacks) or the thickness of your sections (for histological serial sections). For the workshop data, please enter 20um.

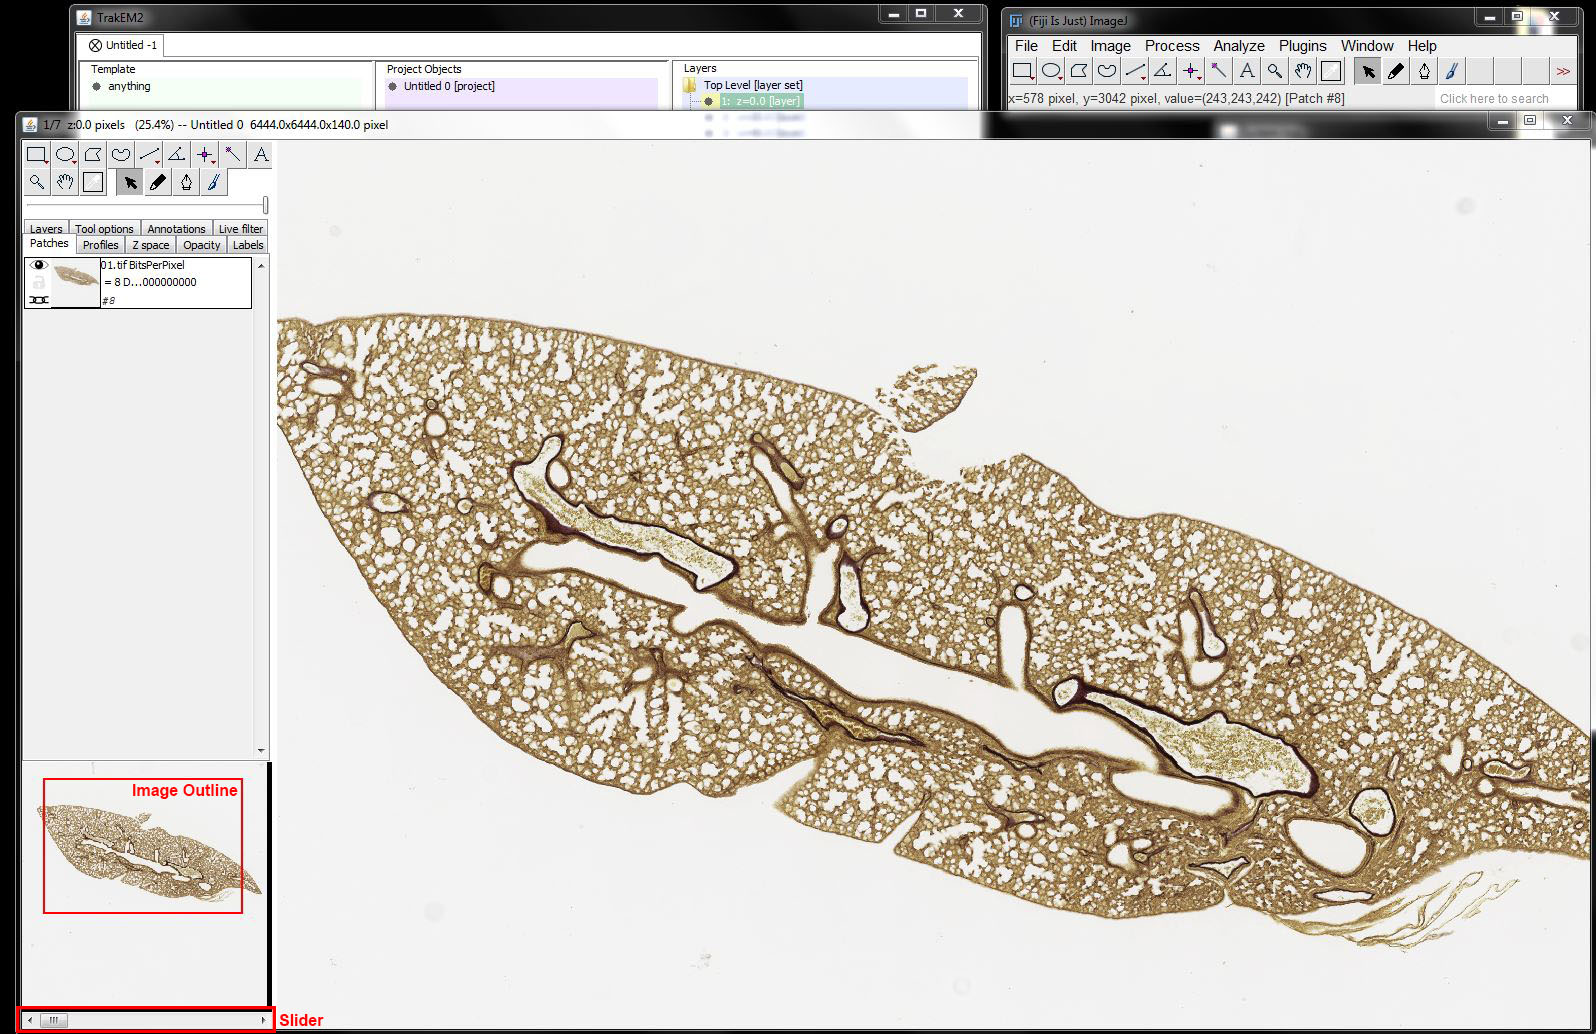
TrakEM2 will now load and display the images. You can zoom in and out by holding down Ctrl and turning the mouse wheel. You can play through the slices with the slider in the lower left corner of the main window, below the thumbnails. The red outline in the thumbnails shows the image area (which will enable you to easily see the area of each section within the image and how they do or don't line up). You can pan around by clicking with the mouse on the image and drag it around.
Left-click with the mouse on the image to activate the window, then right-click and choose Align -> Align stack slices from the right-click menu.
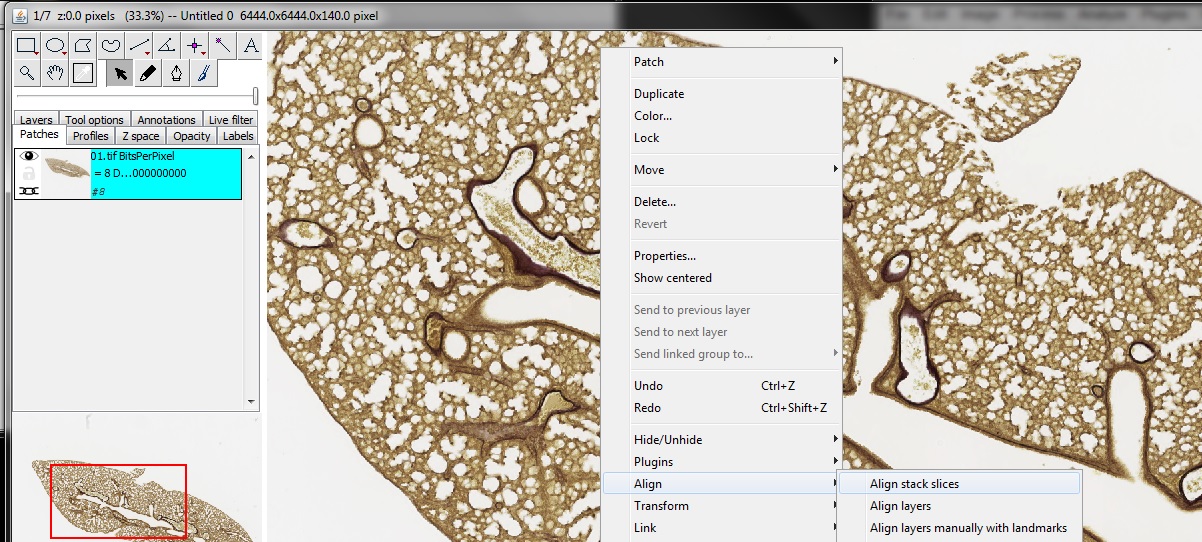
Accept all defaults by clicking OK three times.

If you scroll through the slices now, you see that the sections are all aligned to each other.
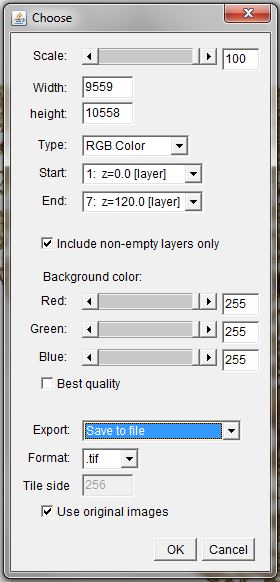
To save your aligned image stack, right-click again, select Export -> Make flat image…
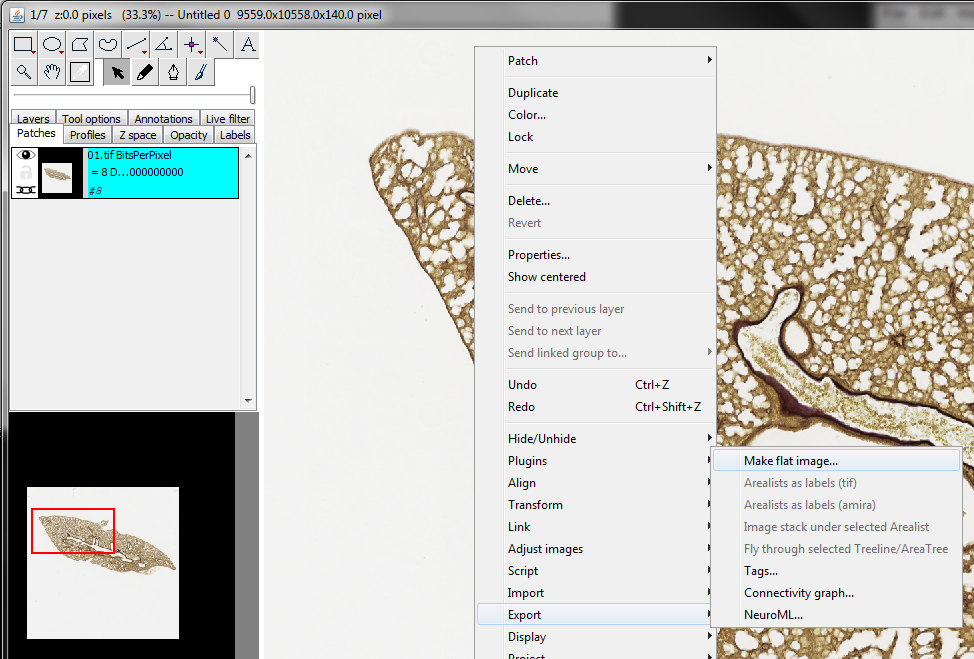
Make sure that Scale is set to 100% (you can reduce your image size here if you like but not recommended as you lose data) and select Type: RGB Color (for histology images) or 8-bit greyscale (for single channel fluorescence images). Set your first and last images as the Start and End layers. For Background Color set all three base colours to 255 to give a white background (for histology images) or set all three base colours to 0 to give a black background (fluorescent images). Tick ‘Best Quality’ and ensure the final image is saving in .tif format, then click OK to save.