PART 4: IMAGE CORRECTION
There are a number of tools in FIJI that can be useful for advanced correction of your images and image series. In this section we will go through the different tools available for correcting imaging artefacts and flaws. The demonstration images DAPI_Uneven.tif, Bleached.tif, Spheroid_Shift.tif, Deconvolution_Stack.tif and PSF.tif.
Flatten
Sometimes, an uneven background in your image hinders image analysis because you can’t threshold your features of interest without also thresholding some of the background. Flattening the image can help with that.
Open the image DAPI _Uneven.tif. As shown in previous workshops/sections, duplicate the image and then apply a large Gaussian blur (e.g. radius 50) to the duplicated image.
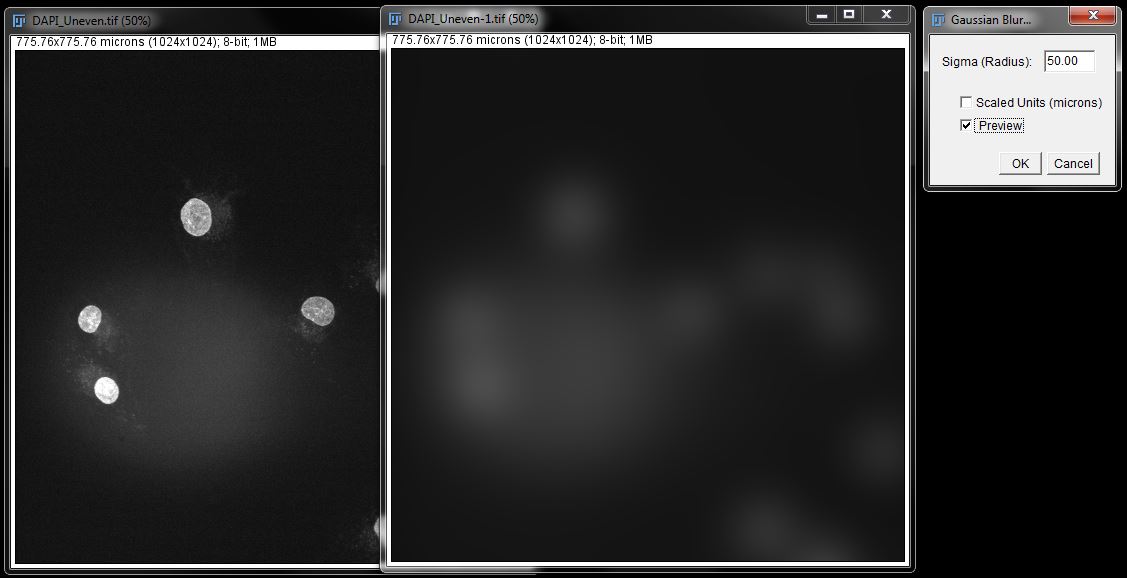
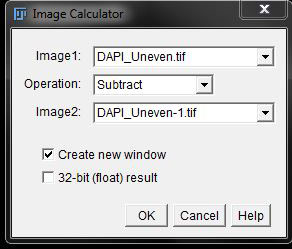
Using the image calculator described in Part 3 of this manual (Process -> Image Calculator), subtract the duplicate (Gaussian blurred) image from the original image.
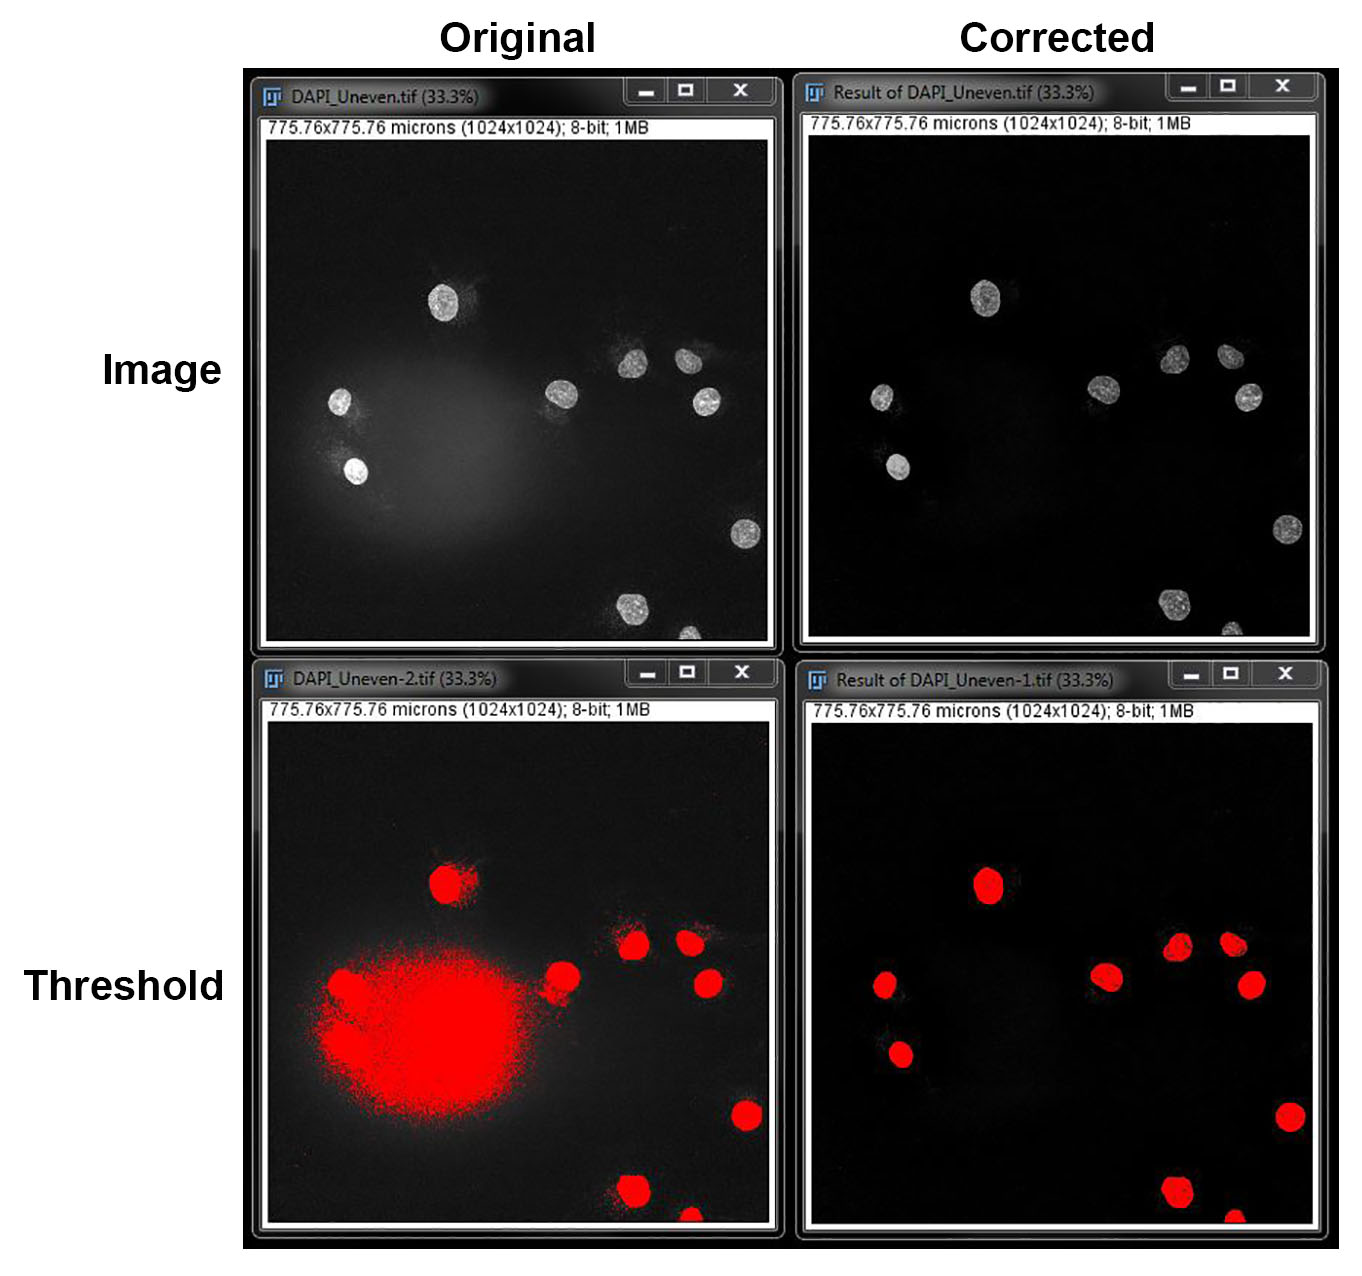
This results in a flattened image which will be easier to threshold accurately.
Note: There is also a background subtraction option in FIJI (Process -> Subtract Background). However, while this will remove even background it won’t help with uneven background and consequent thresholding issues.
Bleach Correction
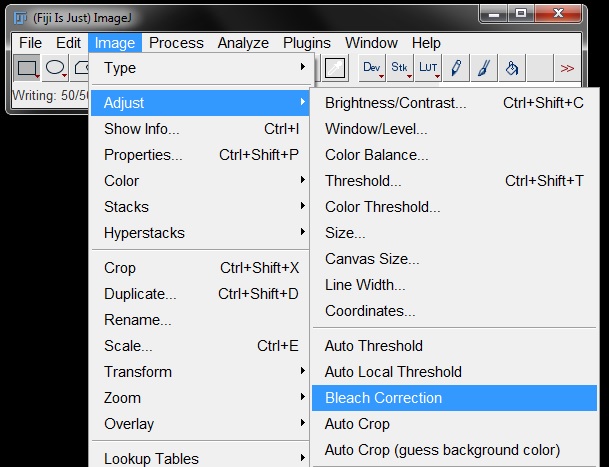
Open the demonstration image Bleached.tif and go to Image -> Adjust -> Bleach Correction.
Choose Histogram Matching from the drop down menu in the pop-up window and then click OK.
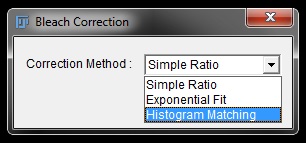
There is other options that you can try (Simple Ratio and Exponential Fit) which are quicker but in our experience don’t work as well. For your own data you may need to try all options to see which fits best.
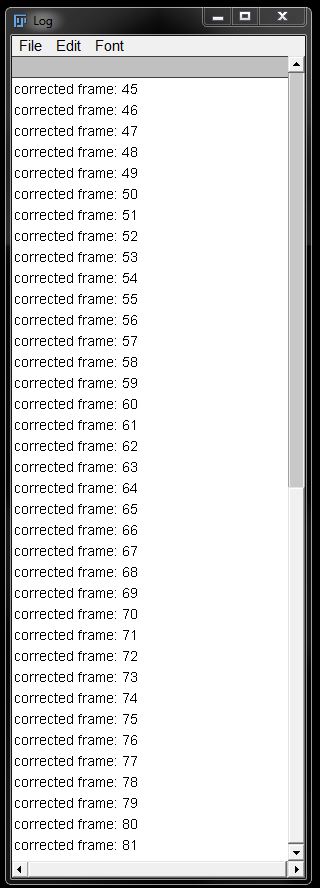
FIJI will open a log displaying the progress as each frame is corrected.
A new window will open with your result when the correction is completed. Here I have duplicated the final frame and show them side by side to demonstrate the difference between the original and corrected image.
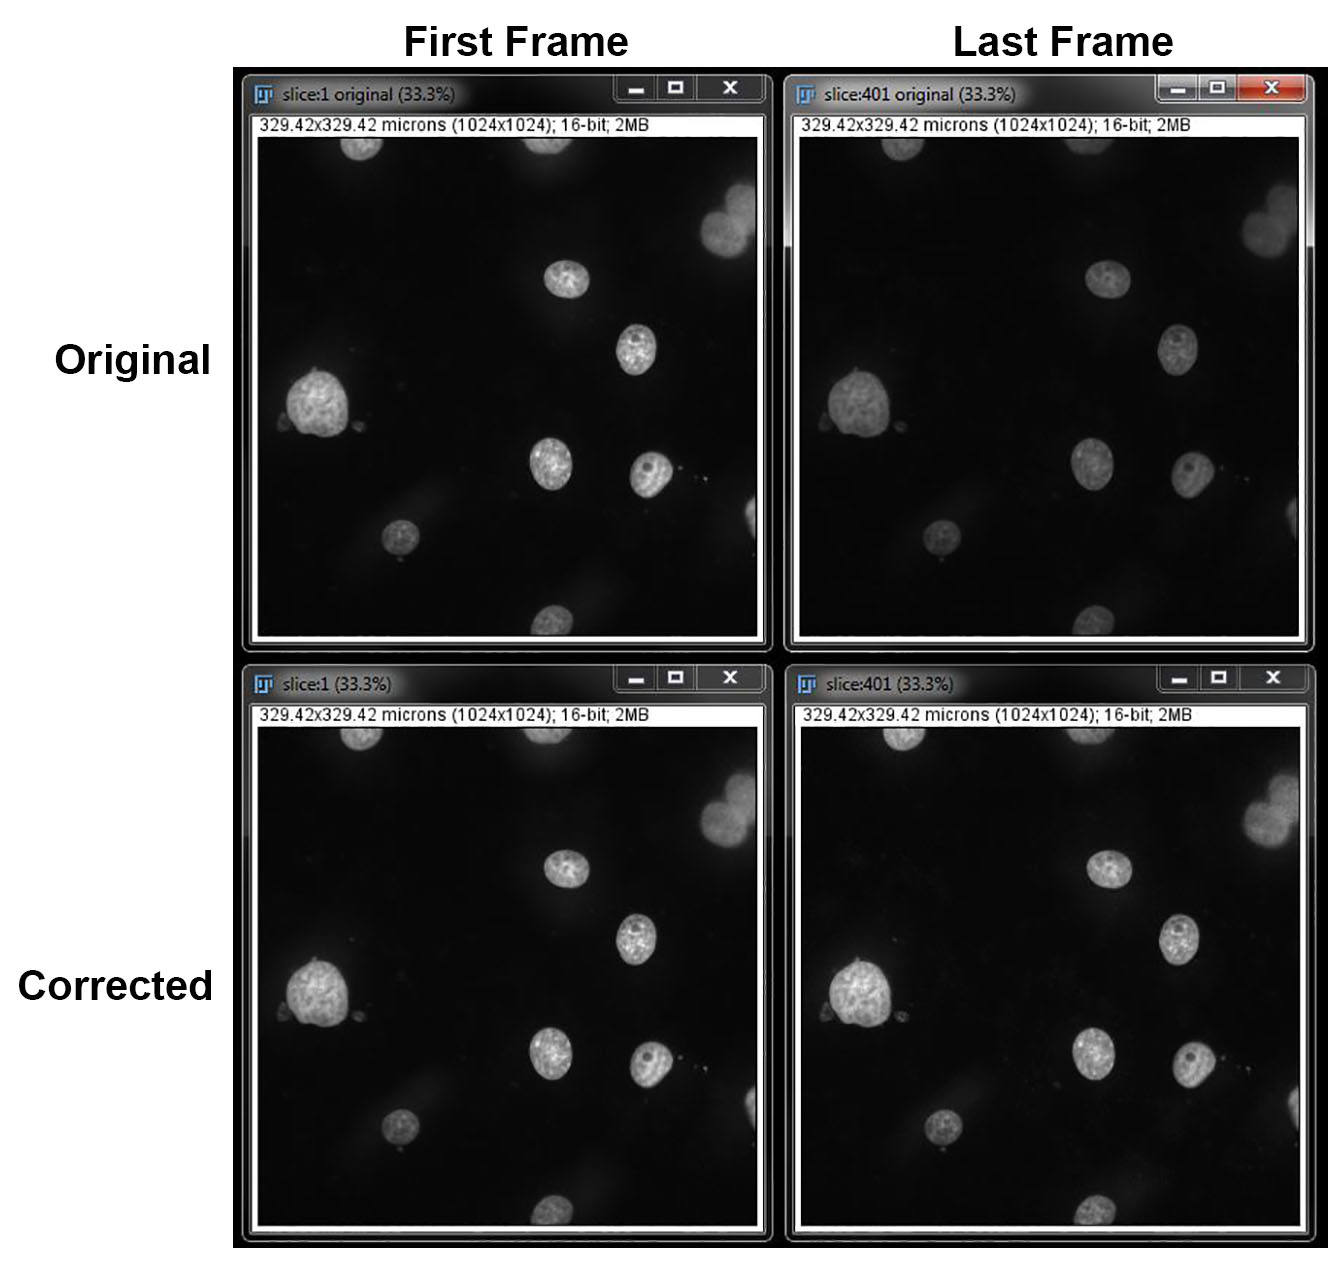
Image Registration / Drift Correction
Correction of image shifts or drift during imaging requires installation of two stack registration plugins. If you have not already done this, do so now by Googling ‘StackReg FIJI’ and ‘TurboReg FIJI’ and download both plugins. They will appear as .zip files. Unzip both files and then move the .jar file from each into the plugins folder of your FIJI software and restart FIJI.
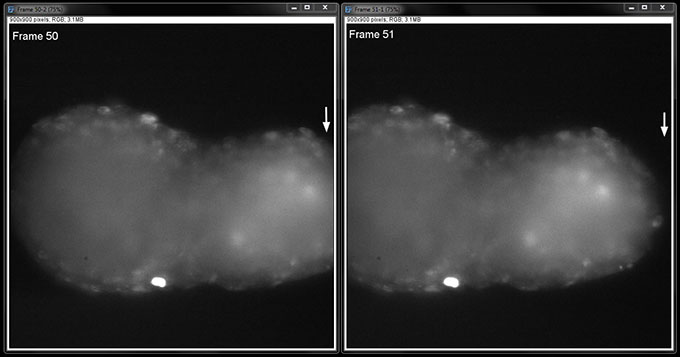
Once you have the plugins installed, open Spheroid _Shift.tif and scroll through the stack. You will see that the image shifts (the spheriod makes a sudden jump to the left) at frame 51.
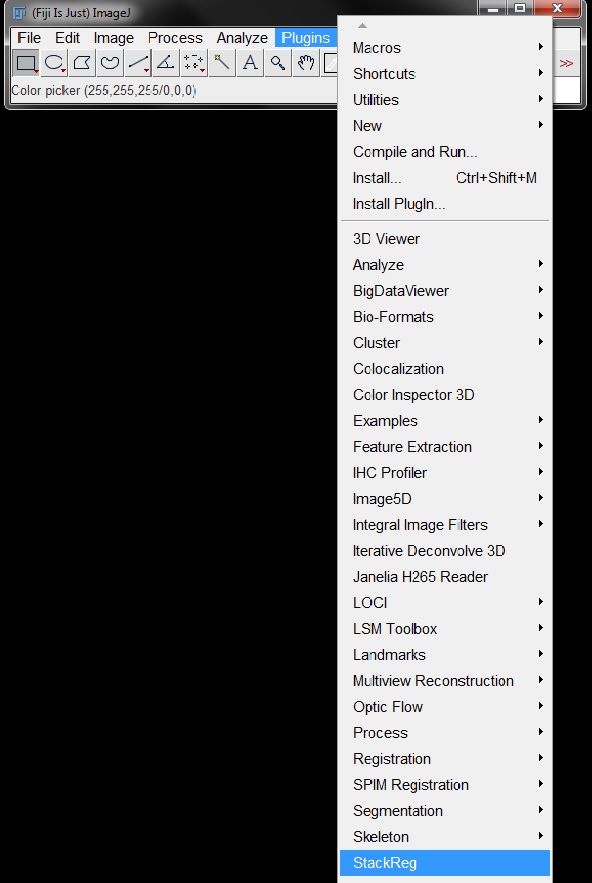
Go to Plugins -> StackReg.
Select RigidBody from the drop down menu next to Transformation in the pop up boxin the pop-up window, then click OK.
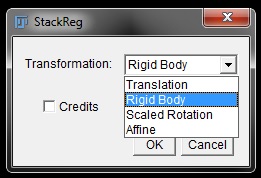
Note: There are four selections for the type of transformation. You may need to test several on your data to determine the best option.
Translation: Will move planes in X and Y
Rigid Body: Will move planes in X and Y as well as rotate (most often provides the best correction without image distortion)
Scaled Rotation: Same as rigid body but will scale/zoom planes as well
Affine: Same as scaled rotation but can also deform images into trapezoid shapes
FIJI will move through the stack as it corrects for the unwanted movements. Results will display in the original image window. For this reason it can be useful to work with a duplicate in case the first correction is not acceptable.
This plugin can be used in the same way for slower drift over time.
Image Deconvolution
Deconvolution is a mathematical process that takes into account the shape of the laser focus (called point spread function or PSF) and uses that to remove out-of-focus light from the image therefore improving resolution and signal-to-noise ratio.
To deconvolve an image you will need the plugin "Iterative Deconvolve 3D" and a PSF image from the microscope you captured your images on.
If you have not already done so, download Iterative_Deconvolve_3D.class from http://imagej.net/Iterative_Deconvolve_3D. Copy Iterative_Deconvolve_3D.class into your FIJI Plugins folder, then re-start FIJI if it was already open.
The PSF can easily be recorded on a microscope by imaging 100nm fluorescent beads. For this example we have a PSF and matching image ready for you.
Open Deconvolution_Stack.tif _and PSF.tif_, both found in the "Deconvolution" subfolder in the Demo images. Scroll through the PSF file to see what it looks like. It’s a z-stack of a fluorescent bead.
Go to Plugins -> Iterative Deconvolve 3D.
Select Deconvolution_Stack.tif under Image and PSF.tif under Point Spread Function from the drop down menus, then select number of iterations (try 10 and 100 and compare the resulting images). For this image you will also need to change Wiener filter gamma to 0, and Terminate interation if mean delta <x% to 0.01. Click OK and wait for the deconvolution process to run.
A log of iterations will be displayed, which will tell you when deconvolution is completed. A new window with the deconvolved image will open.
Compare your deconvolved image to the original and repeat if neccessary with increasaed or decreased iterations.
Save your final image when you are happy with the result.